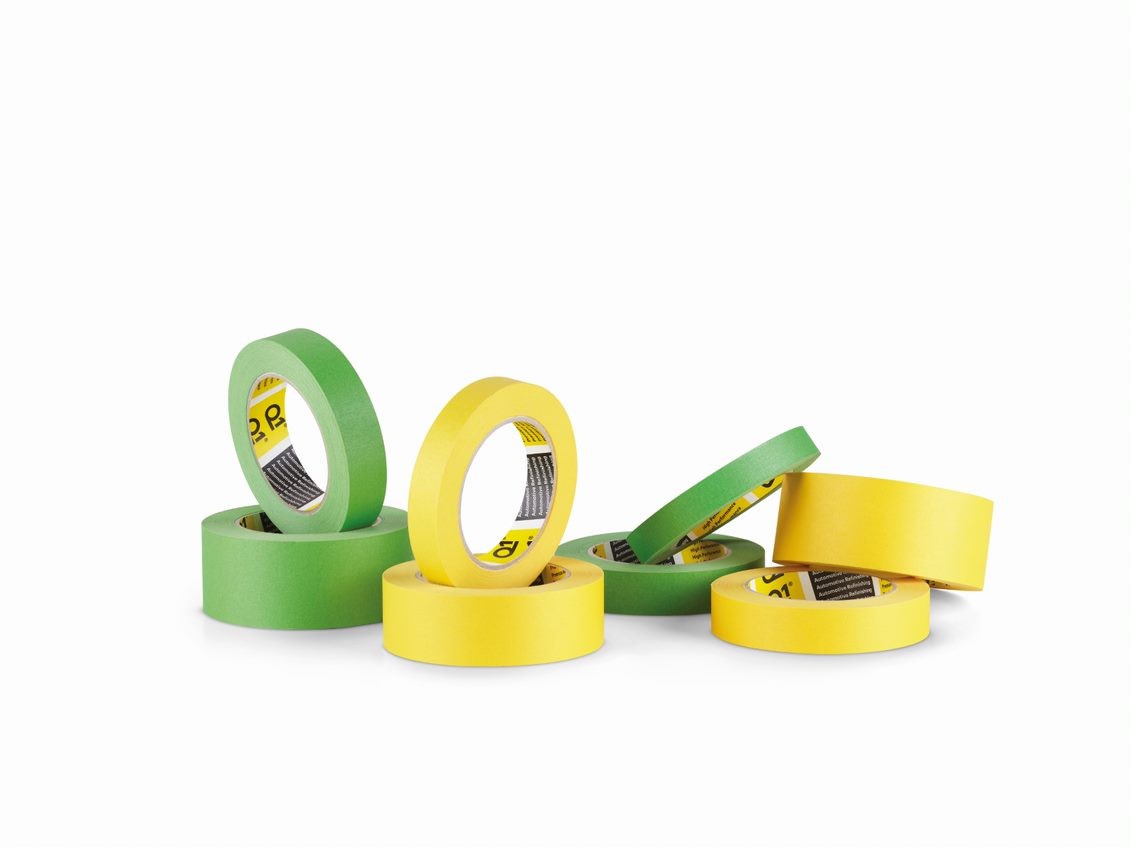
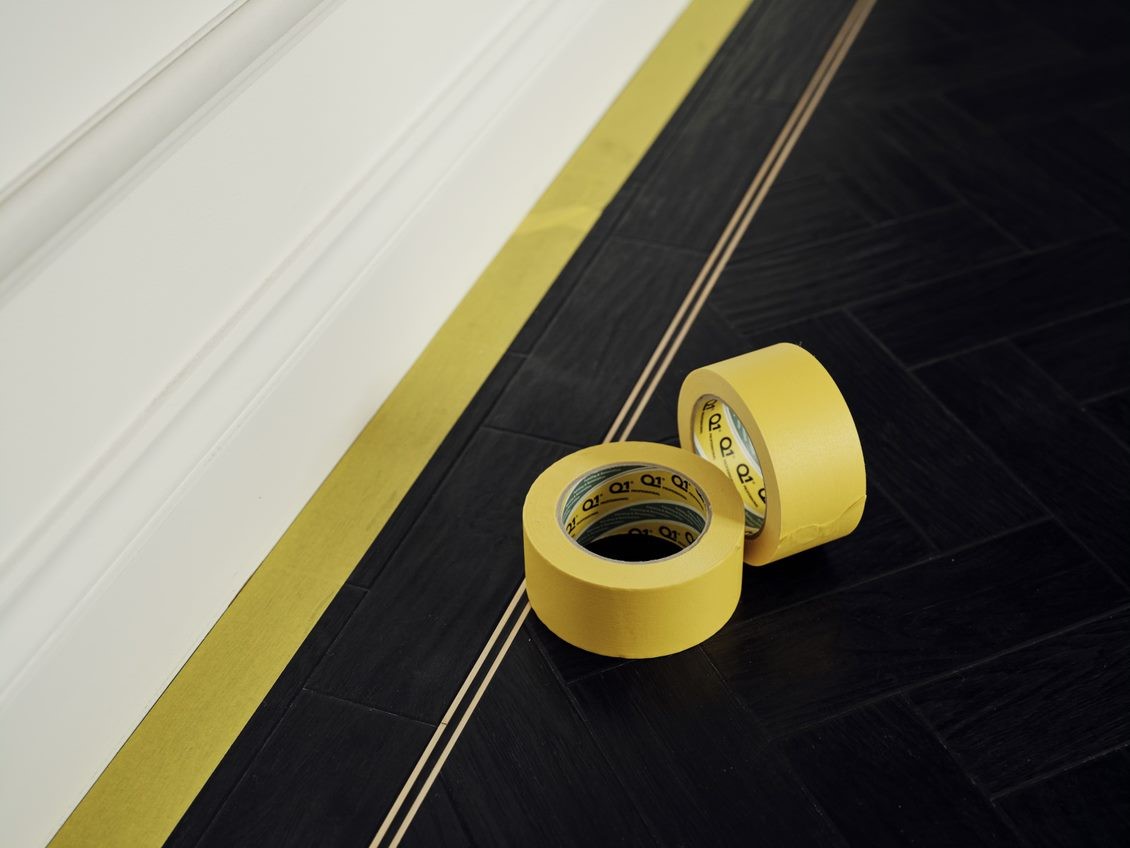
Trim Masking Tape is an innovative product, engineered to help automotive professional painters save time and gain quality when painting around trim moldings. This product provides a thin plastic band on one side, created to let the tape slide in the leaks behind the moldings so as to prevent the paint bleeding through. Thanks to trim masking tape, it is no longer necessary to remove the mouldings during spraying the near surfaces.
In this video tutorial, we discover the qualities and advantages of trim masking tape, while going through the best way to use it.
Choose a good trim masking tape
Like any other tape designed for automotive painting, car trim masking tape must provide some essential features to guarantee the quality of the final result, while saving time and effort. Among these qualities, we mention:
- Ability to withstand high temperature in booth drying cycles
- Easy tear by hand, so to speed up the masking procedure
- Resistance to waterborne and solvent base paints
- Excellent conformability properties, so to easily adapt to the curves of the moldings
- Removal without residue, so to leave clean surfaces after use
The best products on the market boast additional qualities and advantages, as we are going to see in the next paragraph.
How to use trim masking tape, step by step
Using trim masking tape is easy and intuitive, though some little advices should be followed to achieve best results. Let’s take a look:
- Unwind the tape and cut it at the desired length. The best products are provided inside practical boxes that ease the dispensing and are pre-cut at standard length for an easy tearing.
- Insert the side of the tape with the plastic band behind the molding, wrap the tape around the rubber and fasten it to the near surface. The tape is conformable enough to follow the curves of the moldings without ripping. Now the tape covers the entire section of the molding, preventing paint bridging and leaking through.
- Repeat the operation until you have covered all the length of the molding. When finished, mask the rest of the vehicle and prepare the booth for the drying.
After the drying, you just have to remove the tape from the vehicle. We suggest to accomplish this job as soon as possible and straight in the booth, as some tapes tend to attach to the underlying surface when the temperature drops. However, best products such as Q1® Premium Trim Masking Tape show a higher tolerance than average products on the market, and can be removed also outside the booth.
Discover Q1 Trim Masking Tape
Now that you know everything about this masking product, it’s time to get a few rolls of it. You can start with Q1®.
Q1® Premium Trim Masking Tape is designed to facilitate trim masking situations including: inset door handles, windscreen, side mouldings, taillight, sidelight and headlight units allowing complete paint coverage under the moulding while protecting the front of the moulding from paint overspray.
It is composed of a plastic strip on a self-adhesive tape and a flexible polyester band. Thanks to its characteristics, the tape supports high temperatures (up to 110°C/230°F) without leaving any residue.
Trim masking tape is pre-cut every 38mm, allowing tearing it in short stripes that easily fit into the gaps of trim mouldings. Its flexibility guarantees perfect adhesion to irregular surfaces and lets it follow the tight curves of windscreens and lights. In addition, its adhesive formula resists moisture and solvents, making trim masking tape compatible with the most used types of paint used in professional car painting.


