Spray painting a car is fun, but also a meticulous job. If you want to succeed, you must do a nice and clean prep work before spraying (otherwise, it will be a complete mess). Follow our tips on techniques and masking tools to use to give your vehicle a shiny new coat of paint!
Here you can find the steps that bodyshops usually follow before picking up paint sprayers.
1 – Sand the surfaces
First things first: make sure that any rust or old paint on the car is thoroughly sanded off.
To do this you’ll need an orbital sander and some abrasive sponges (a 600-grit will be fine) to reach any difficult spot.
The goal is to give your paint an even surface onto which it can adhere: sand the vehicle using circular motions, removing all the paint either all the way to the bare metal, to the original primer, or just enough for your new coat of paint to adhere to. If you are in a hurry, the third option will be enough.
Suggested product

Q1® Double Sided Sanding Sponges – super fine
A new tool made to prime difficult locations that ordinary sanding tools cannot reach, such as bumpers, door handles, headlight openings, door jambs and other locations. They work on wet and dry surfaces.
2 – Clean and prep the area you are going to paint
Remove any dust or dirt from the area you are going to paint using a dry cloth. If there is any stubborn dirt, try wiping it off using a small amount of cellulose thinner, denatured alcohol or mineral spirits.
Now clean any residue left and let it dry completely.
3 – Mask the area you need to protect
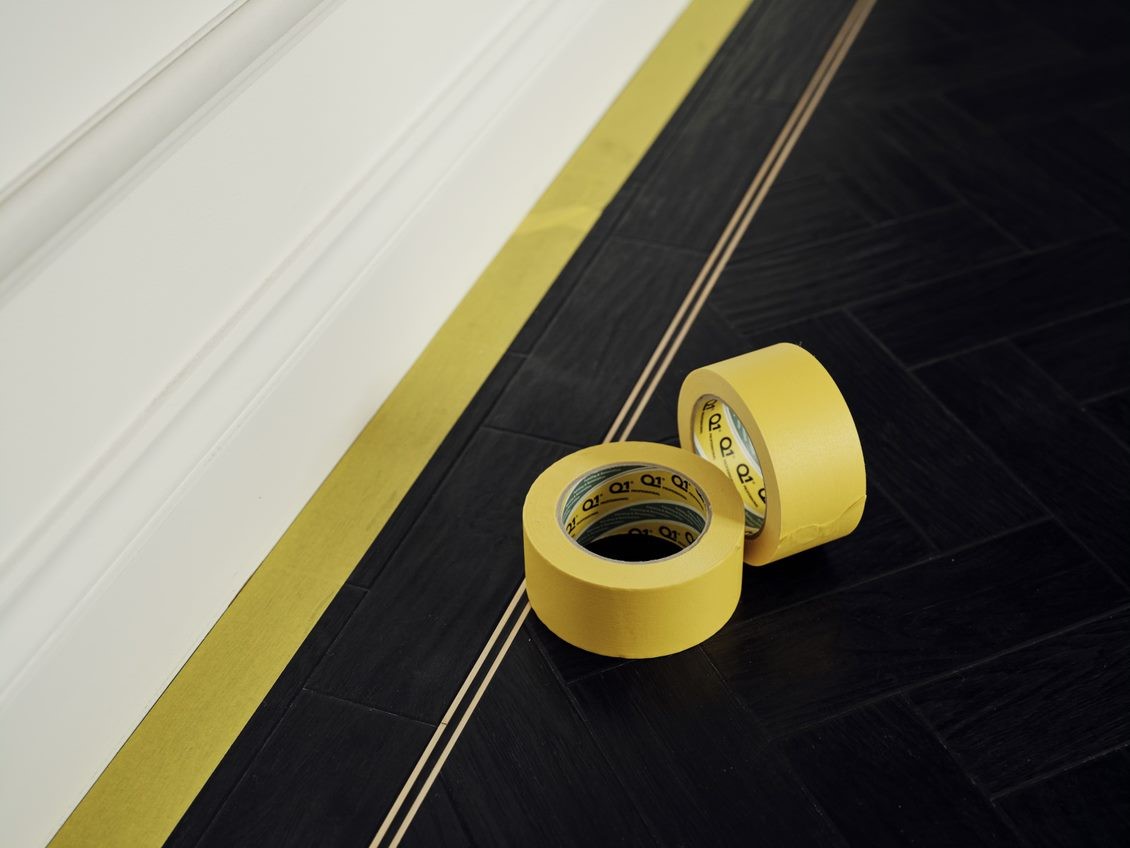
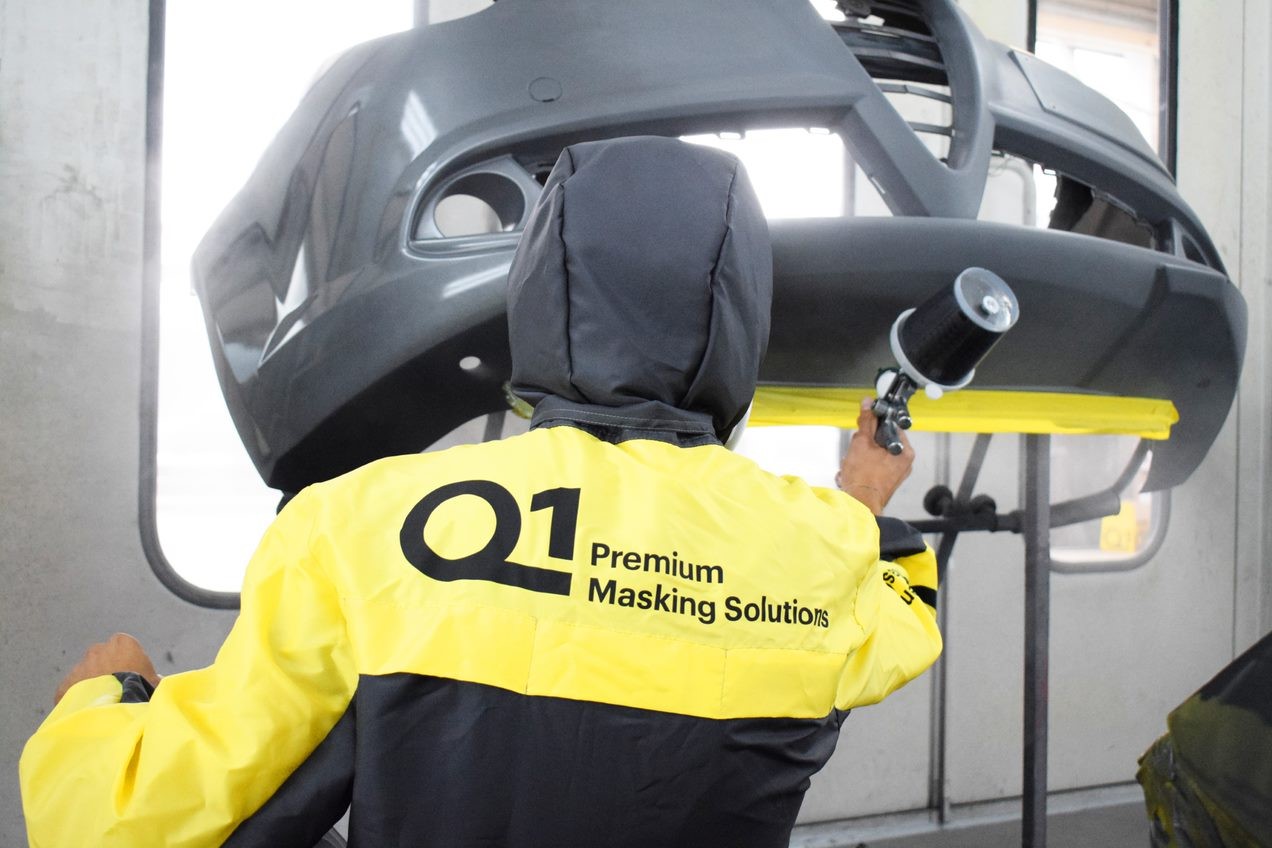
Our favourite step: masking. Use automotive masking tapes and films to cover the surfaces of your vehicle that you don’t want painted, including mirrors, window trim, grills and door handles. Take all the time you need: good masking leads to a high quality final result.
Suggested products for spray painting
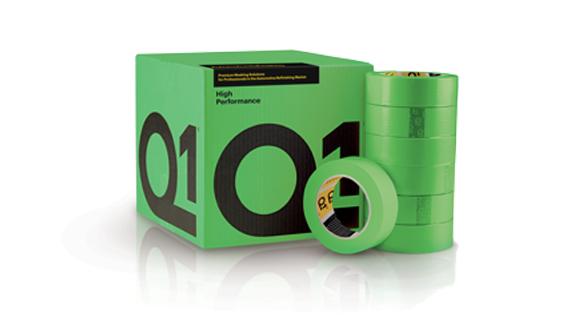
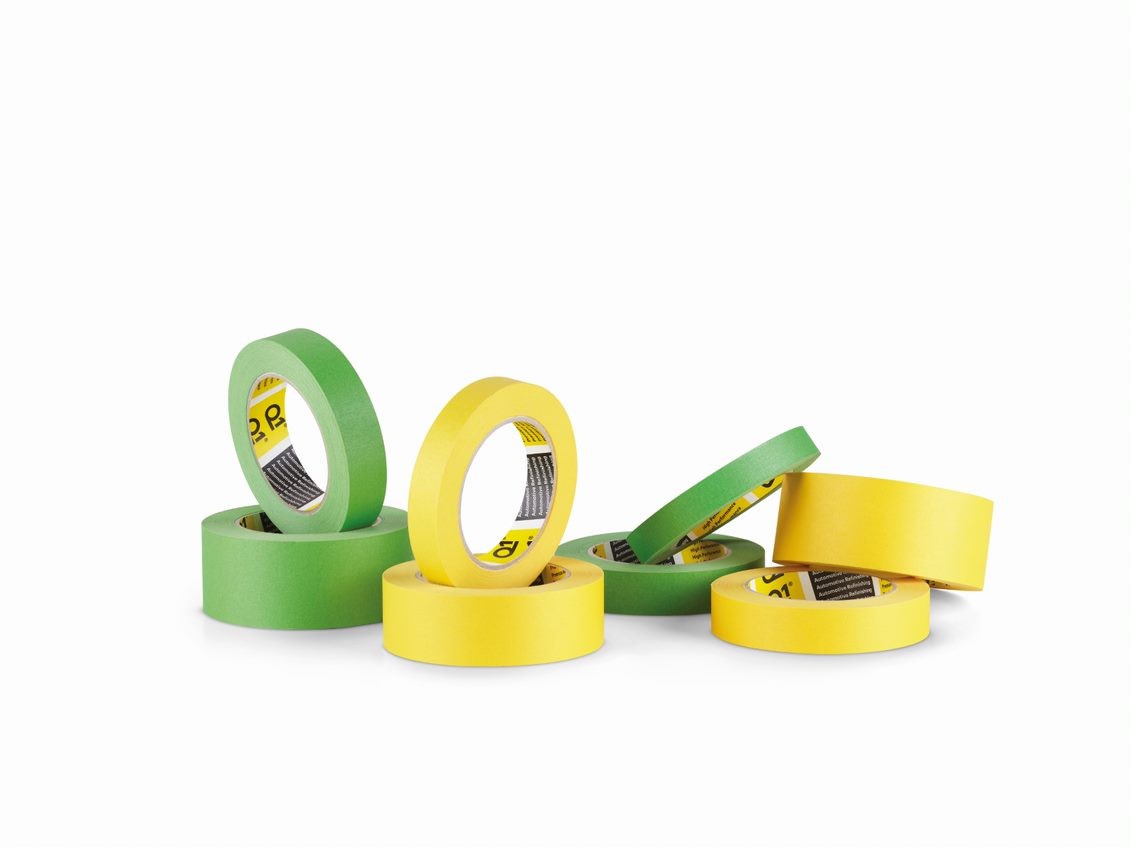
Q1® High Performance Masking Tape
This product has been specifically designed for most critical jobs in the automotive aftermarket and can withstand high temperatures of up to 110°C (230°F) for as long as 30 minutes. It’s also UV resistant for up to three days and water resistant.
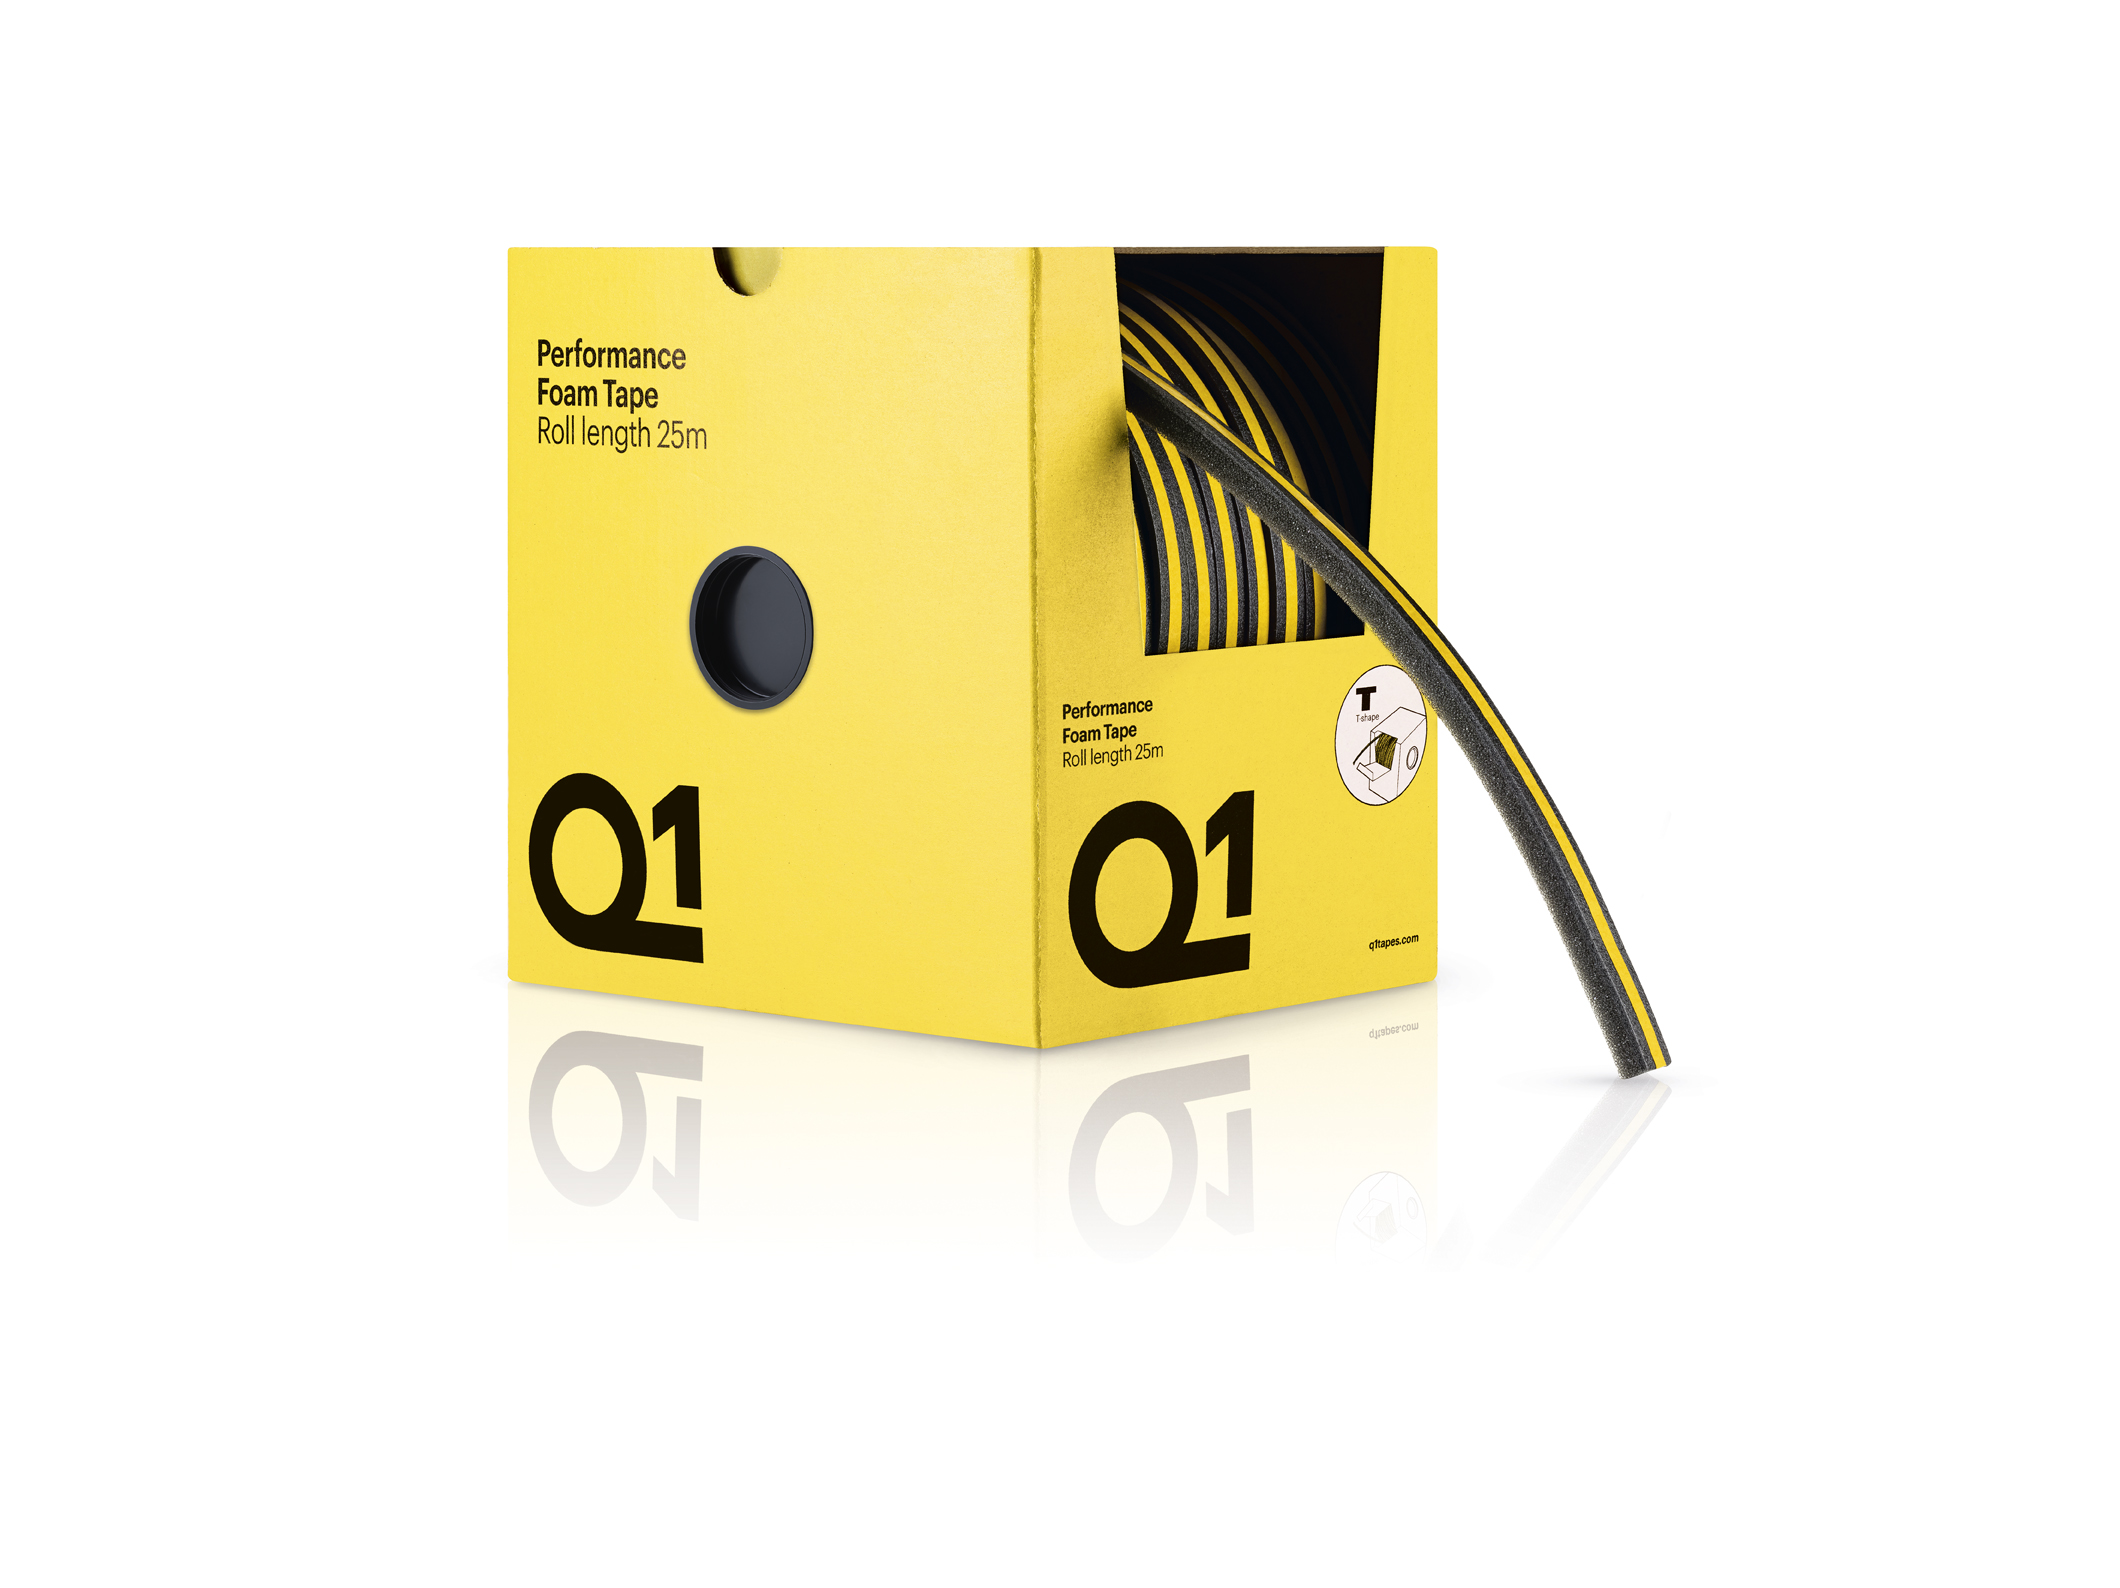
Q1® Performance Foam Tape
A quick, performance-engineered solution to seal openings, this is the ideal masking tool for reducing masking time around doors, tailgates and other vehicle access points.
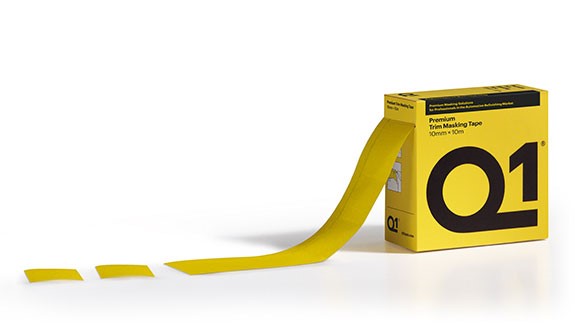
Q1® Premium Trim Masking tape
This masking tool is designed to facilitate trim masking situations including: inset door handles, windscreen, side mouldings, taillight, sidelight and headlight units. Pre-cut every 38mm, the tape supports high temperatures (up to 110°C/230°F) without leaving any residue.
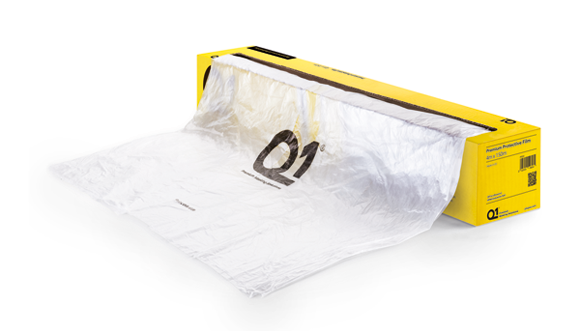
Q1® Premium Protective Film
A car paint protection film treated to ensure paint adhesion of both solvent and waterborne paints specific for vehicle painting jobs. This feature is due to its electrostatic property result of corona treatment and the composition of the raw material with specific additives.
If you need some advice on how to apply these masking tools, this video should give you some good tips.
4 – Before spray painting, prime and clean again
Priming the car is a very crucial step. The primer prepares the surface to better absorb the paint. This will also help you lengthen the lifespan of the paint and add protection for the surface of the car that is being painted. We suggest you use a corrosion-resistant and self-etching primer.
Apply the primer and wait until it is completely dry.
5 – Paint and apply lacquer
Now, the final part: you are ready to apply the paint with your spray gun. Start with the base coat, if you need a better coverage add as many coats as you wish. Then apply a clear coat lacquer, using the same painting technique.
Remove masking tapes and films and…you’re done!
Find the closest reseller to get the tools you saw in this article!
