When it comes to spray painting it is normal to maximise your effort during masking time. With some simple solutions and the right masking products you’ll be a real spray paint hero.
An accurate preparation is an essential step to get a perfect paint job and satisfy the customer. Follow these steps and watch our video to mask correctly any kind of room.
1 – Cover furniture with a masking film
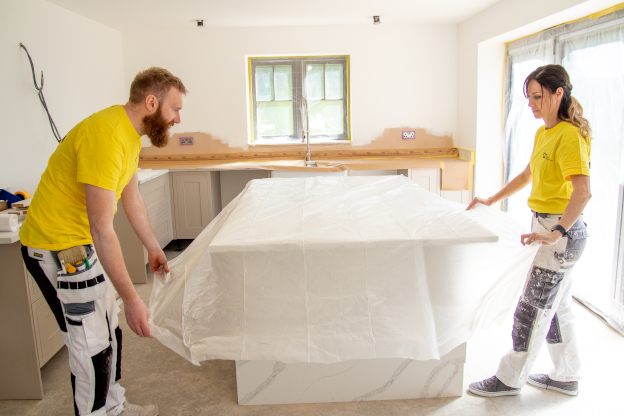
Whether you’re a beginner or a pro, it’s always recommended to remove or cover furnishing or any object in the room you are going to decorate.
Put the furniture in the center of the room and cover it with an electrostatically charged dust sheet, so that it doesn’t slip or flutter when you pass by.
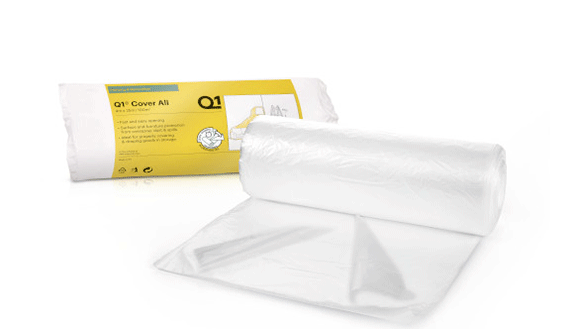
Recommended product: Q1® Cover All Dust Sheet
Fast and easy to unfold, provides furniture and floor protection from overspray, dust and spills.
2 – Cover switches with masking tape
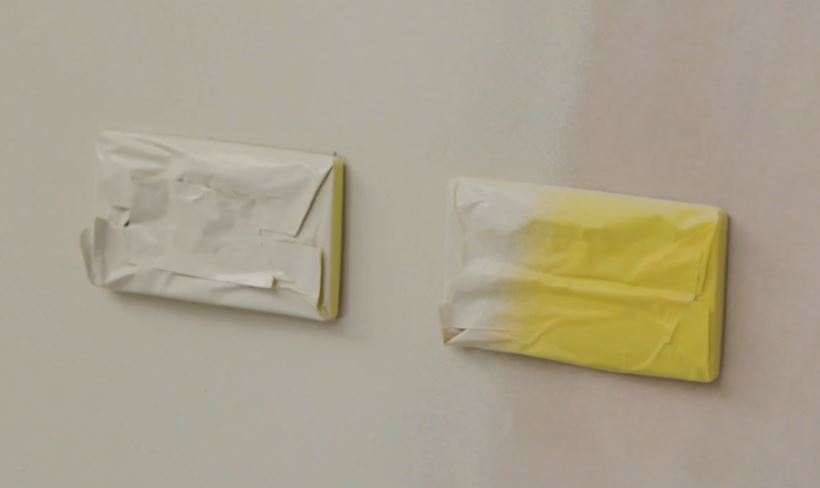
Many professional painters usually remove switch plates and outlet covers before spray painting because they use tapes that most of the time leave glue behind that is difficult to remove.
Well, if you use the right spray paint masking tape, you won’t have to worry about it. The only thing to do is to cover the switches with a little more precision to obtain a flawless finish.
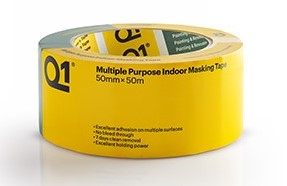
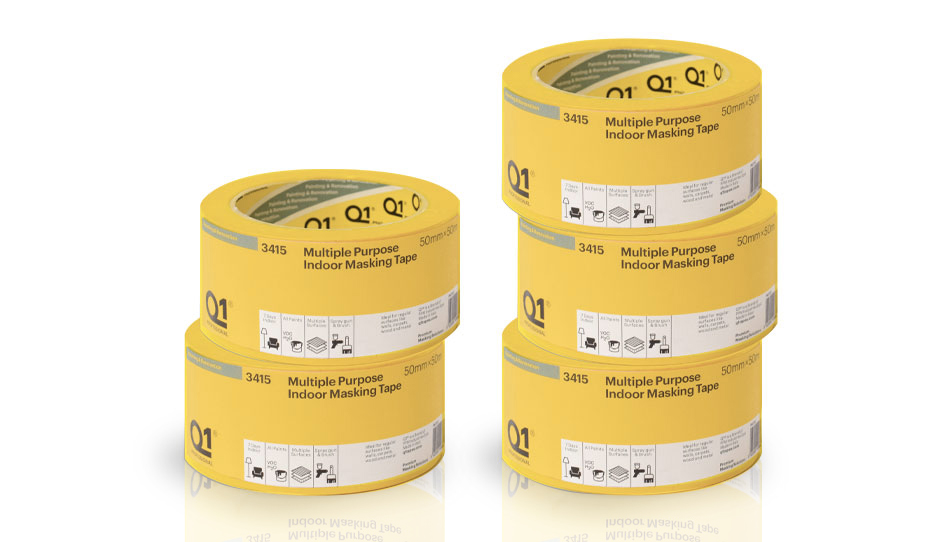
Recommended product: Q1® Multiple Purpose Indoor Masking Tape
It assures a clean and easy removal within 7 days, without leaving any residue on the application surface or peeling of the substrate.
3 – Mask windows and doors
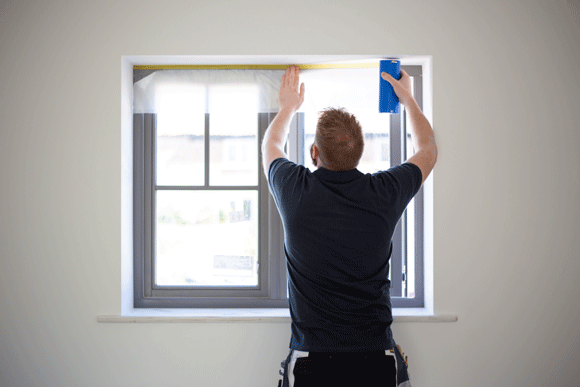
When it comes to protecting windows, apply drop down masking film on top, then unroll it until you entirely cover the surface. Now use masking tape to secure it on the bottom and all around.
Repeat the same process with the doors. You can also use masking paper and cut it in smaller pieces, if you don’t have to protect it entirely. Use a dispenser or a putty knife for a better result.
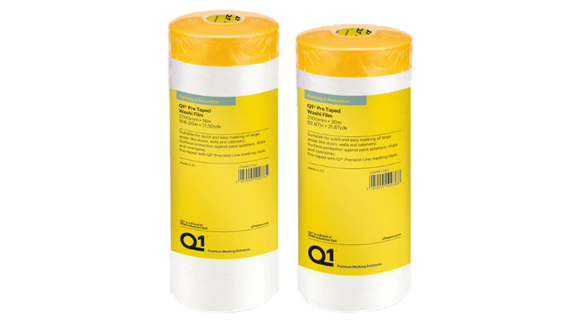
Recommended products: Q1® Multiple Purpose Indoor Masking + Q1® Pre Taped Washi Film
The best match to prevent over-spray flaking and drips from both large and small surfaces.
4 – Cover floor boards and floor with pre-taped masking paper
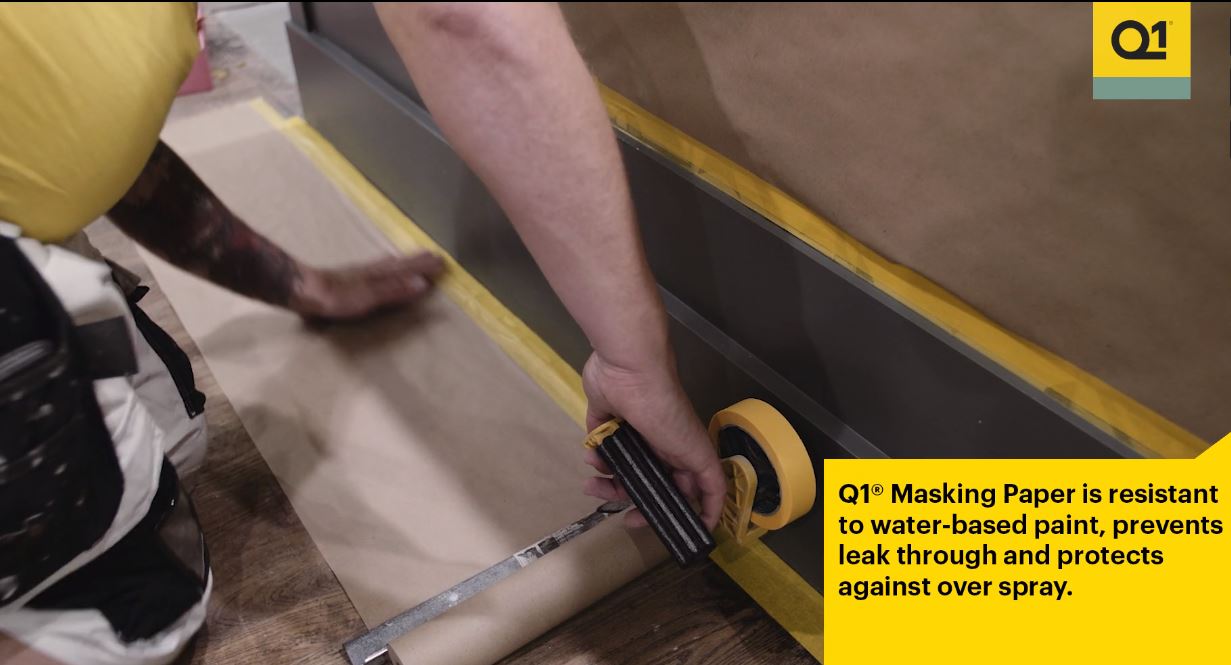
Keeping paint off a floor by masking in properly is a lot easier than trying to remove it later, especially if you are going to spray paint. Also, trying to remove paint after it’s dried onto the floor would make you waste several hours in cleaning, and you could damage it.
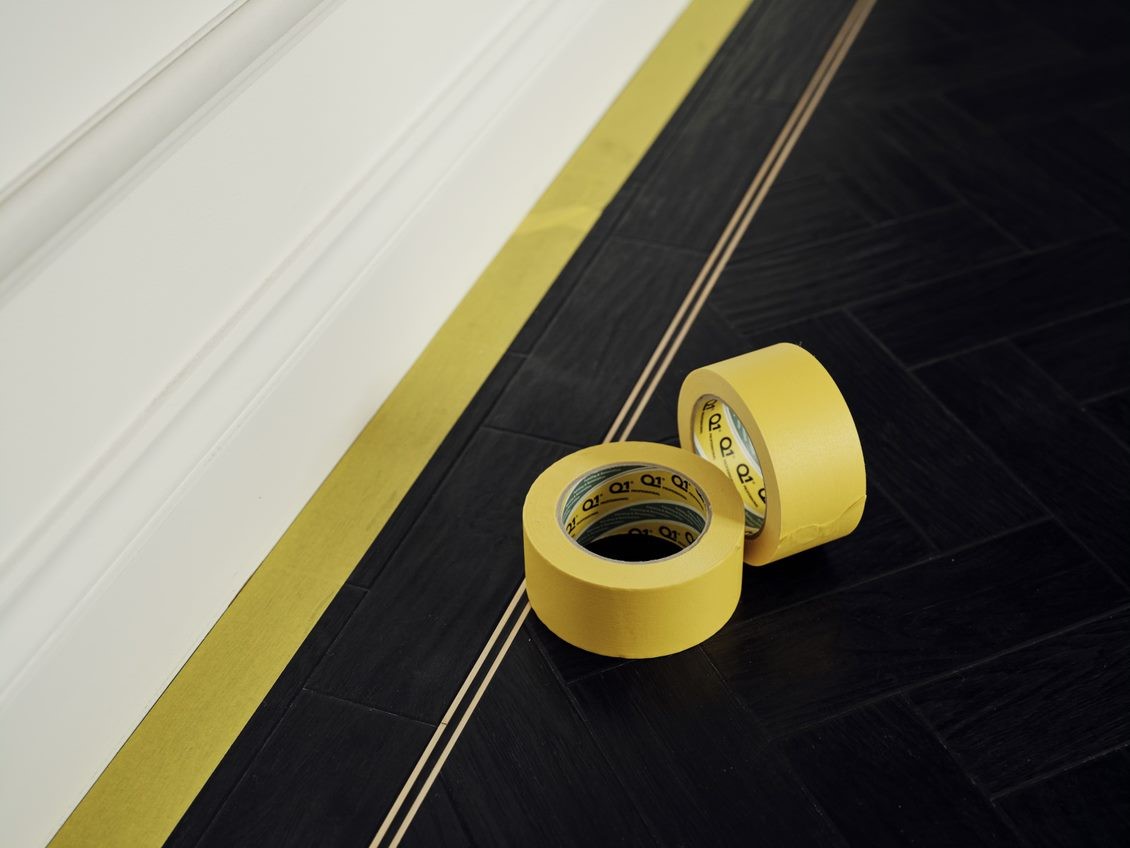
Place masking paper along the trim and secure it with masking tape.
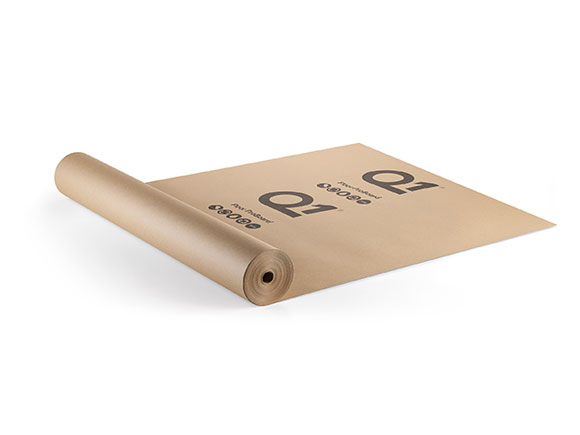
Recommended product: Q1® Floor ProBoard Masking Paper
Q1® Floor Pro Board is made of 100% recycled and biodegradable paper which protects any surfaces from paint spills and blocks moisture and liquids from getting through to the surface, offering superior performance even in wet conditions. Use it with Q1® Multiple Purpose Indoor Masking Tape.
5 – Cover part of the ceiling (optional)
If you don’t want the ceiling to be the same colour as the walls, you can apply masking paper to protect it from overspray. Attach wide masking tape along the perimeter of the ceiling, then, using a dispenser, attach masking paper to the tape. To speed up this step, we highly suggest you to use pre-taped masking paper.
If you just want to match walls and ceiling, ignore this step.
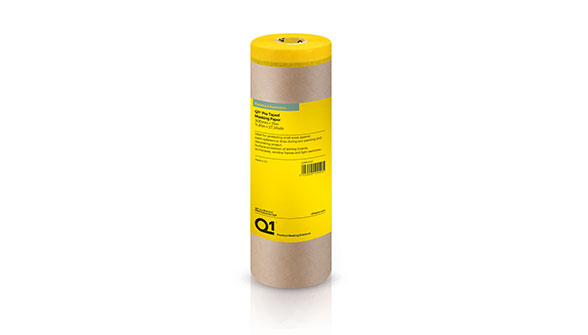
Recommended product: Q1® Pre Taped Masking Paper
Designed for interior use during any painting project, it is the right size for the protection of skirting boards, architraves, window frames and light switches.
Watch this video if you need further tips on how to mask a room before spray painting.
