A step-by-step masking process with Q1® top-of-the-range products
Masking vehicles after repair, so that they can be primed and refinished is a multi-mask process, with the full masking process required both before priming and before refinishing. For processes like this, it’s vital that your team is using masking products which can be trusted to adhere quickly and offer protection throughout the entire priming and refinishing processes.
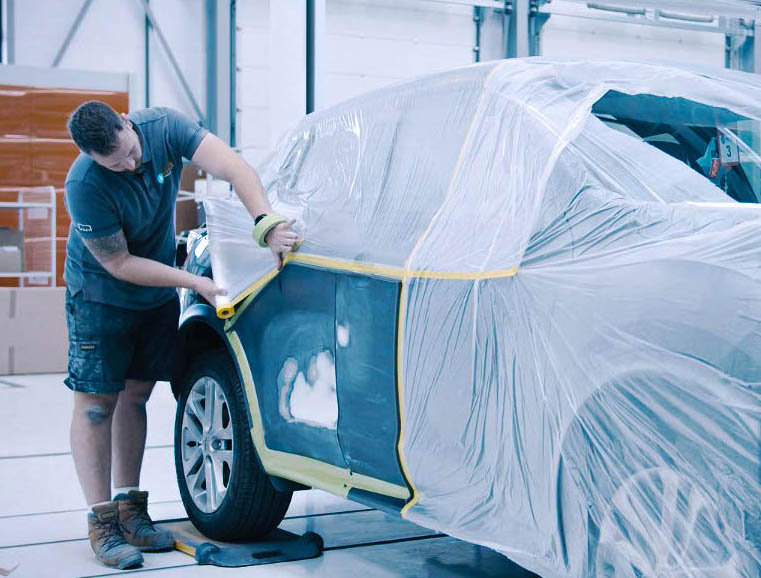
Here, Axiom UK, show how they achieve manufacturer-grade finishes, in a lean, time-efficient manner, from their purpose-built 18,000 sqft facility, which repairs up to 50 vehicles per week.
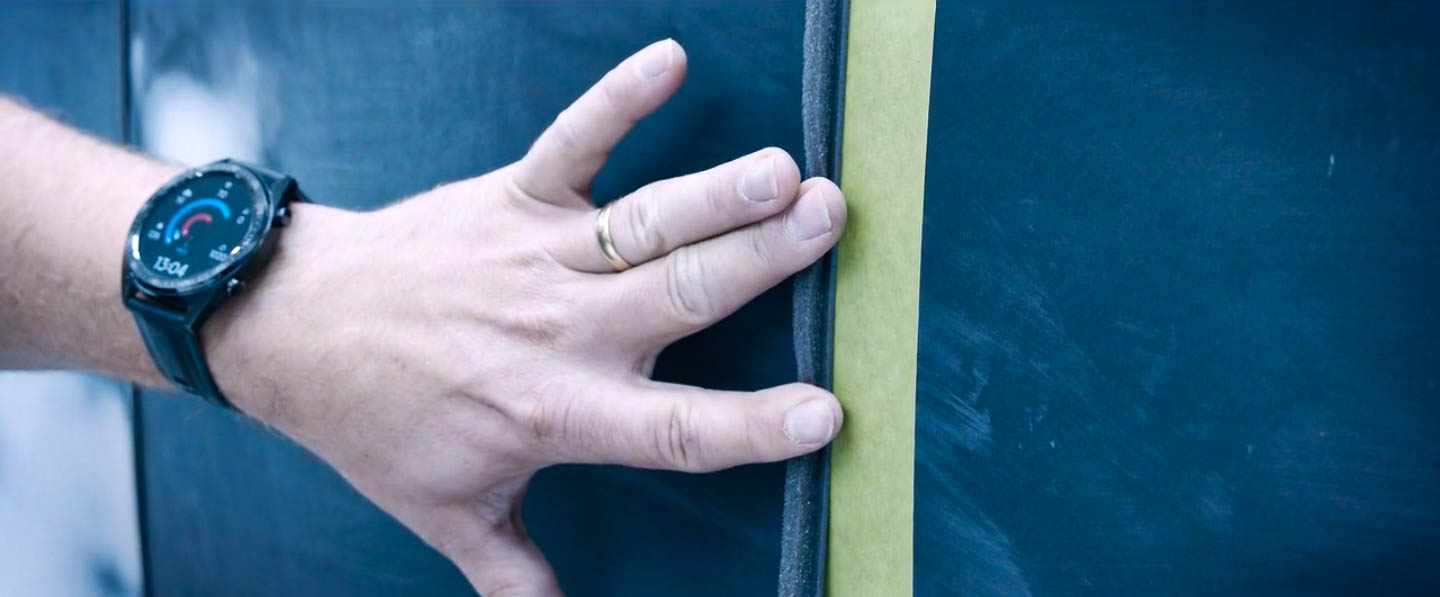
Step 1: Masking the area to be primed
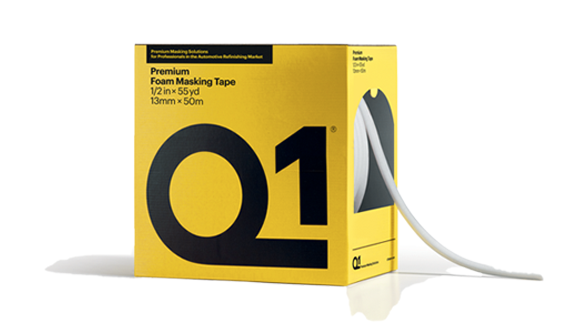
Using Q1® High Performance Masking Tape, tape around the area to be primed. This doesn’t have to be a full panel, Q1® tape adheres without fault across doors and around bumpers. Making this a fast but accurate task. Once complete, use Q1® Performance Foam Tape on the inner edge of the area you have marked off for priming.
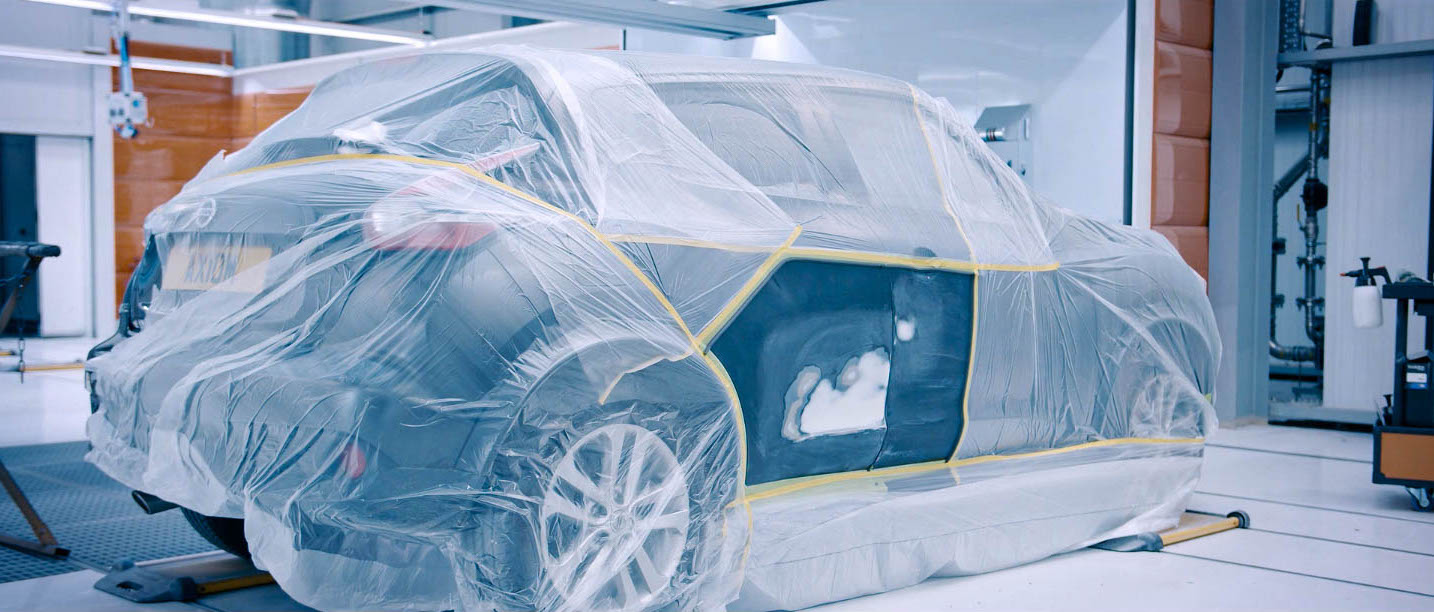
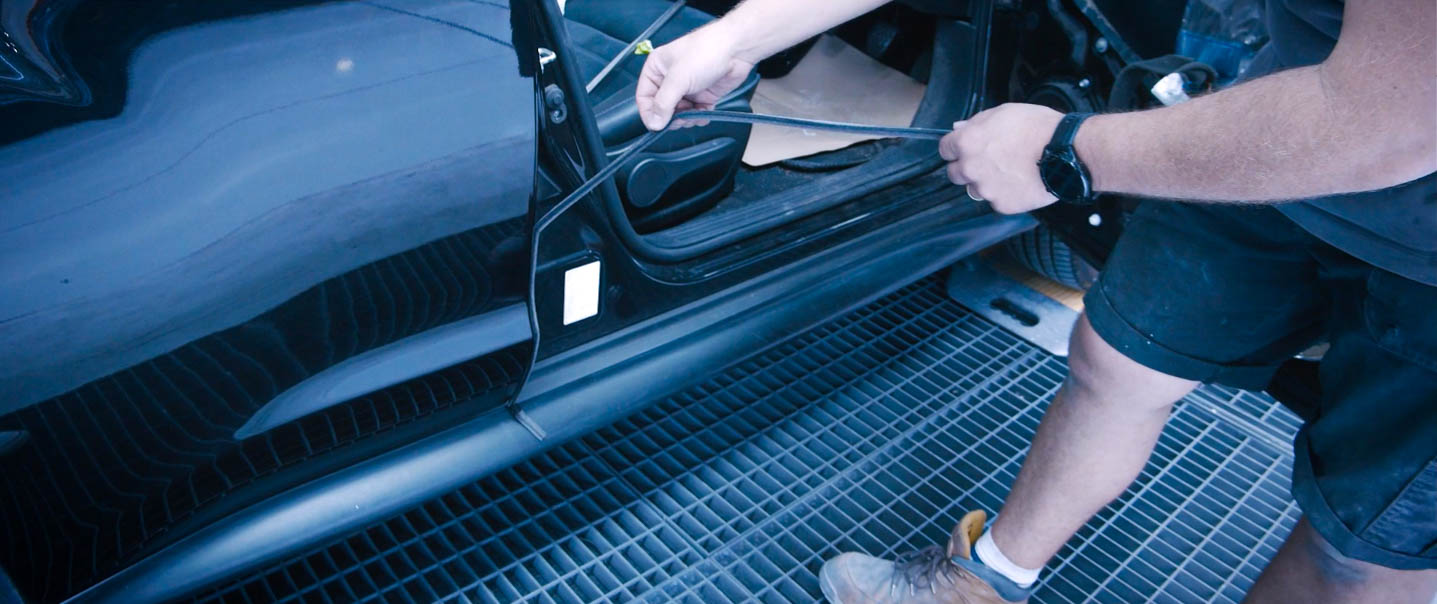
Step 2: Protect the rest of the vehicle
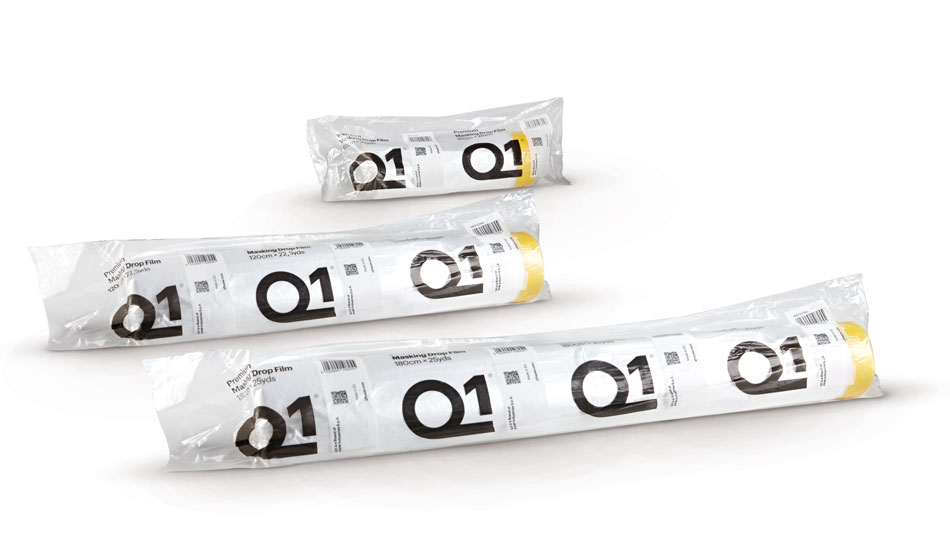
The Q1® Masking Drop Film can be taped directly on top of the existing tape to create a sealed barrier which will protect the rest of the vehicle during the priming and refinishing processes. Then an electrostatically charged drop sheet can be quickly draped over the vehicle and secure in place to protect finished areas. Now the vehicle is ready for priming.
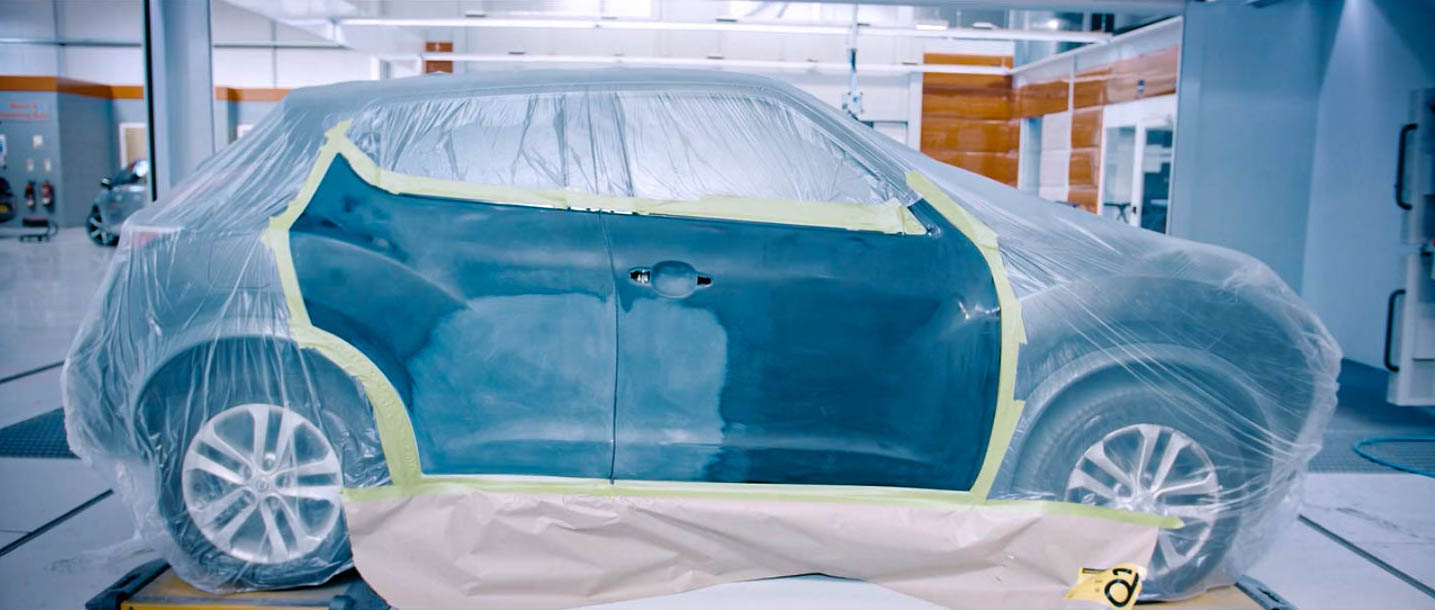
Step 3: Post-priming processes
Once primed, remove the masking tape and films so that the area can be flatted using P320 and 500. After wiping away the dust, re-mask the vehicle ready for painting. This time, mask around the entire panel, using Q1® High Performance Masking Tape for bumpers and swage lines, and around the edges of all windows. Q1® Performance Foam Tape or ‘T’ Tape is ideal for masking door shuts and drop film can draped and then cut to provide a perfect fit around the re-spray area. Seal the edges with more Q1® Premium Masking Tape. Lastly, Q1® masking paper, taped across the bottom of the car will catch any overspray.
Step 4: Painting the repaired panel
Once in the spray booth, three coats of undercoat are applied along with a base coat. At this stage it is vital that the masking products you have used can withstand the heat of the baking process. Q1® has been designed with this in mind and continues to protect the vehicle throughout. Once the baking process is over, remove the masking.
Designed specifically for the needs of the automotive refinishing market, Q1® peels away easily with no residue, which saves time during processes where multiple masking phases are required.
Axiom UK made the switch to Q1® products permanently after experiencing the premium performance quality for themselves. Is it time you switched?