The quickest way to a quality finish
When it comes to running a successful business, finding the balance between customer satisfaction and efficiency can be vital, but doing jobs quickly shouldn’t come at the cost of doing them well.
Here, Rapid Repair Specialist Wayne Beardmore, owner of Damage Undone, talks us through how a few simple techniques using Q1 automotive masking products could not only help with the quality of your textured bumper scratch repairs, but also save you timein the long run.
Stage one: Sanding and skimming
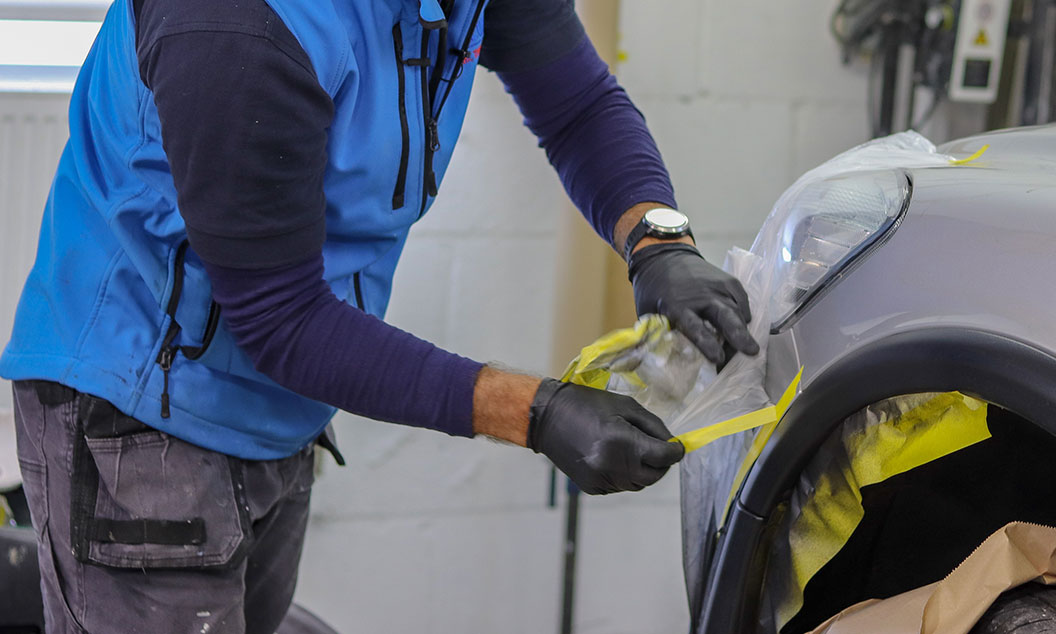
First and foremost, Wayne likes to begin his repairs by running a line of masking tape along the edge of the bumper. “It’s a simple job that only takes a couple of seconds,” says Wayne, “but it’s going to save you a lot of time in the long run”. Q1’s automotive-specific masking tape flexes neatly around the contours of the bumper, enabling you achieve a clean line and protect the neighbouring panel.
Sand down the damaged area ideally at this stage using 120-240 grit sandpaper to ensure the area is level and ready to be skimmed, if needed. Then skim the area with plastic repair glaze to fill in any imperfections.
Stage two: Perfect priming
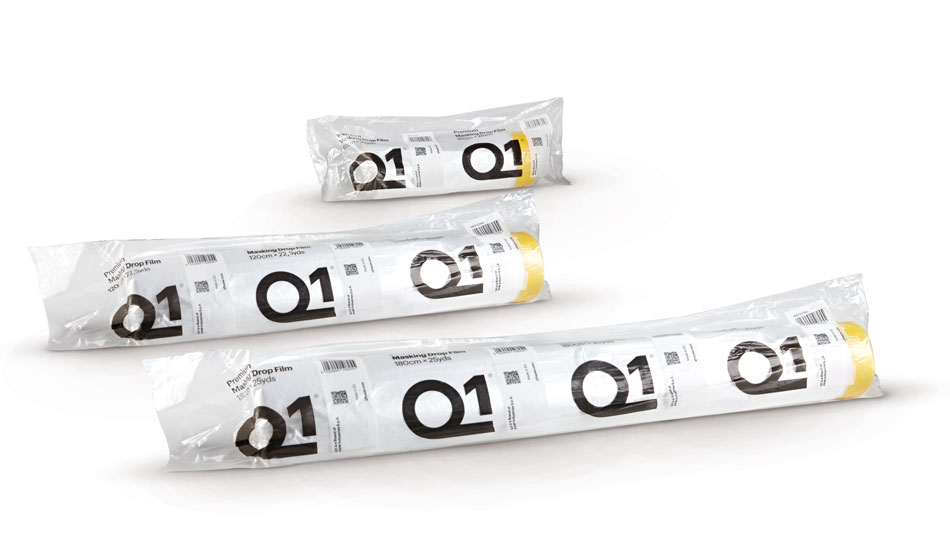
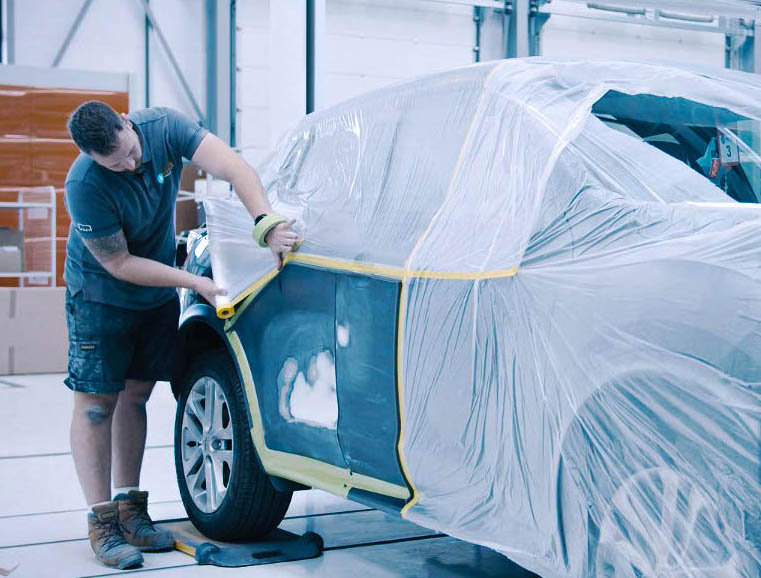
Next, it’s important to protect the rest of the panel from dust and overspray. The easiest way to do this is with Q1’s Premium Protective Drop Film, which unrolls easily from a masking tape header and sticks to the car thanks to a corona treatment which gives it electrostatic properties.
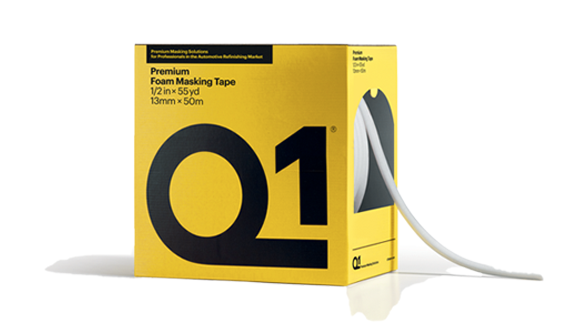
Then it’s time to prime. Wayne starts by creating a soft border with Q1’s 13mm Premium Soft Edge Foam Masking Tape, which makes it easy to keep to the affected area whilst leaving the rest of the car protected. Q1 products perform brilliantly tape-on-tape, providing the perfect protective border for tricky jobs. Then he tends to use Glasurit UV primer and the Telsa Cure UV lamp, which cures the surface in under a minute.

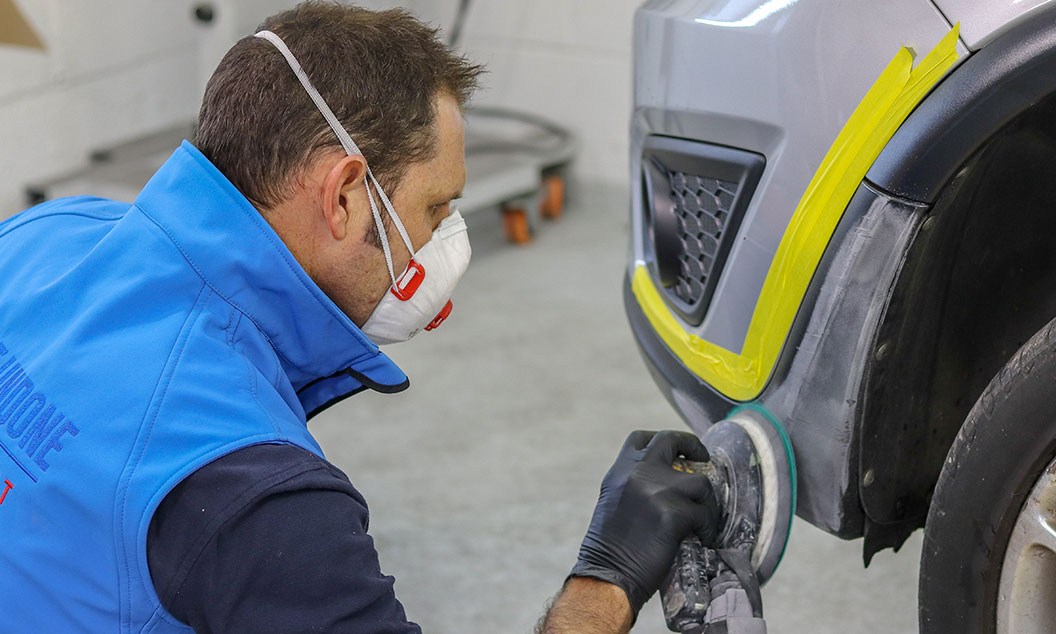
Stage Three: Texture
Before texturing, a coat of plastic adhesion promoter is applied to help achieve a more durable repair. Then apply several light layers texture, in this case Fine Tex, remembering to flash off between each coat. Once the desired texture effect has been achieved, the surface may feel a little rough and can be sanded with an 800grit sheet of sandpaper and a soft pad.
Finally the colour can now be applied, blending it out where needed.
Damage Undone made the switch to Q1 products after experiencing the premium performance quality for themselves – is it time you switched? Find out more here.