Working around a popped roof for a world-first purple finish
With a workshop growing in popularity for bespoke paint finishes and high-quality detailing on modified cars, Bodytech in Salisbury was the obvious choice for one VW camper owner.
Wanting a totally bespoke paint finish which would make it the only one in the world of its colour, the customer knew that finding a paint shop that took pride in its craftsmanship and used only the best products to finish each job was imperative.
Here, owner Shaun talks us through the project, step-by-step:
Stage one: Mask the popped roof and apertures
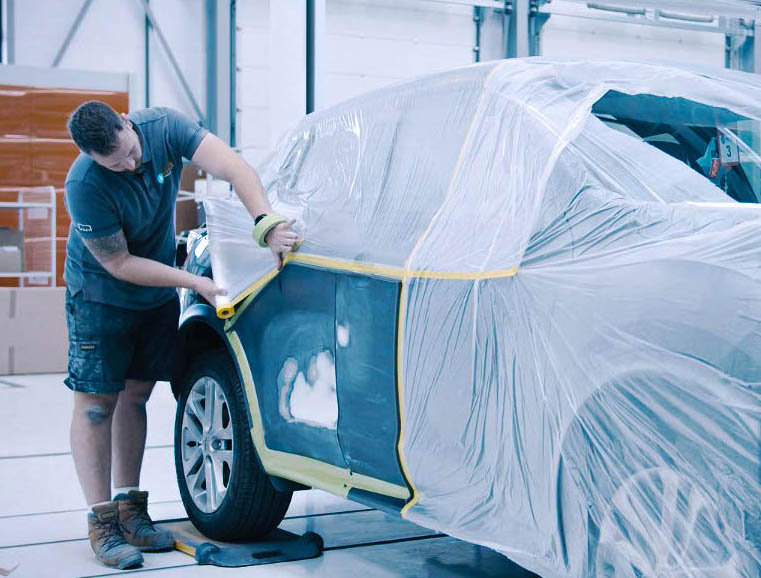
With a popped roof which provides more space within the camper van, it was important that this van was painted in stages. Having already received its new paint finish, Shaun has chosen to mask the roof in its elevated position, using Q1® Premium Masking Tape and Q1® Premium Protective Film.
The back opening of the van and the window apertures are covered using Q1® masking paper, which is secured with more of the premium tape. Shaun notes how easy Q1® tape is to apply when following the lines of complex apertures, sticking strong, but peeling away with no residue.
Stage two: Mask off the windscreen
Using Q1® Trim Tape, Shaun’s colleague, Ollie, masks around the windscreen with ease. Q1® Trim Tape is perforated so that operators can quickly and easily tear off the sections they require. Once the protective backing has been removed, the Trim Tape is slotted beneath the rubber seal, protecting both the windscreen and the seal from overspray and a flaking paint edge.
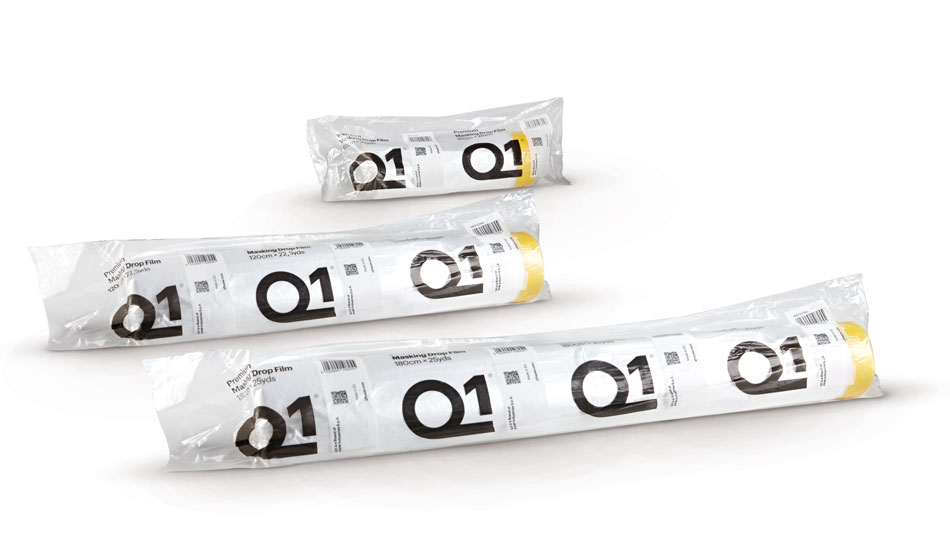
Once the edge is prepped, Ollie chooses to use the pre-taped Q1® Premium Masking Drop Film to cover the rest of the windscreen and exposed engine bay. Given the size of the vehicle, this pre-taped product allows Ollie to reach over and tape the film quickly into place, spreading the sheet out and allowing the electrostatic charge to cling to the parts he wants to cover.
Stage three: Back mask door apertures
Shaun back masks the door apertures by sticking lengths of Q1® Premium Masking Tape to the insides of the door frame, with the adhesive side facing outwards.
He then uses Q1® Premium Masking paper to seal the opening, gently sticking it to the tape all the way around.
Ripping off the excess paper to partially reveal the tape, Shaun then uses more tape, this time with the adhesive facing towards the inside of the vehicle to secure the paper to the tape. Shaun comments that compared to many other tapes he has tried, Q1® sticks to itself easily and securely, making processes like back masking quick and effective.
Stage four: Mask edges for a soft paint edge
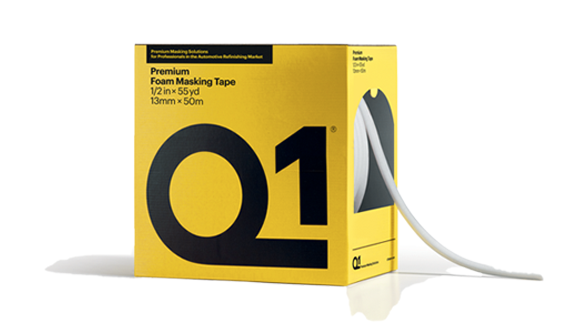
Shaun uses Q1® Foam Masking Tape around the edge of each panel to ensure a soft and gradual paint finish. With a sticky side for quick adhesion, this unique product prevents harsh paint lines which is especially useful for complete resprays where the finishing colour is dramatically different to the original shade.
Stage five: Degrease and seal, base coat and lacquer
With the masking complete, the vehicle is degreased and each panel is checked for contamination before the respray can commence.
A wet-on-wet primer (sealer coat) is applied to create a seal between the existing paint and the new finish. Cleverly, this was mixed to closely match the finishing purple shade. Once dried, the team continue with three layers of base coat until opacity is achieved. This is followed by a lower pressure effect coat – a very controlled coat which will determine the resulting metalic effect.
Finally Ollie applies two coats of clear lacquer. After baking, the team wet flat and polish the vehicle to give it a showroom finish.
Bodytech made the switch to Q1® products permanently after experiencing the premium performance quality for themselves. Is it time you switched?


